Filezilla SFTP Tutorial
Step 1
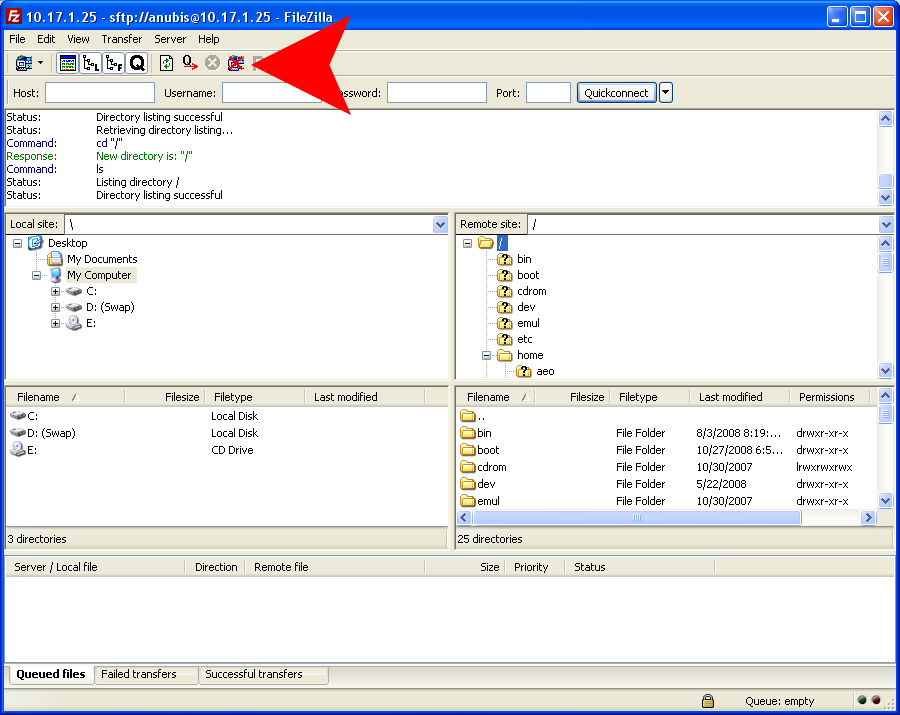
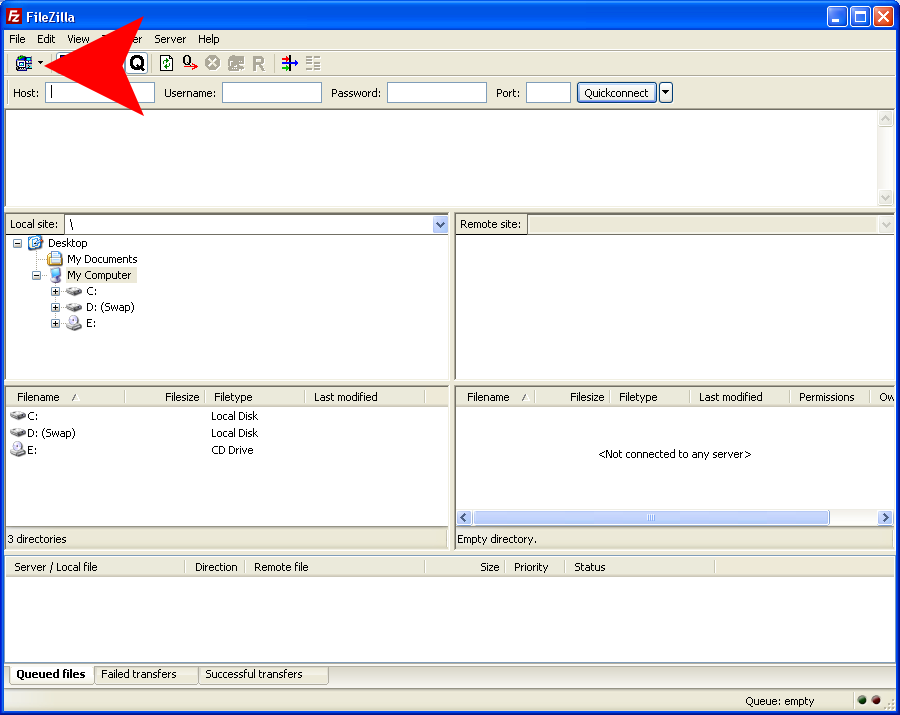
Launch the Filezilla SFTP Program. Once the program has loaded click on the computer icon located on the top right hand area.
Step 2
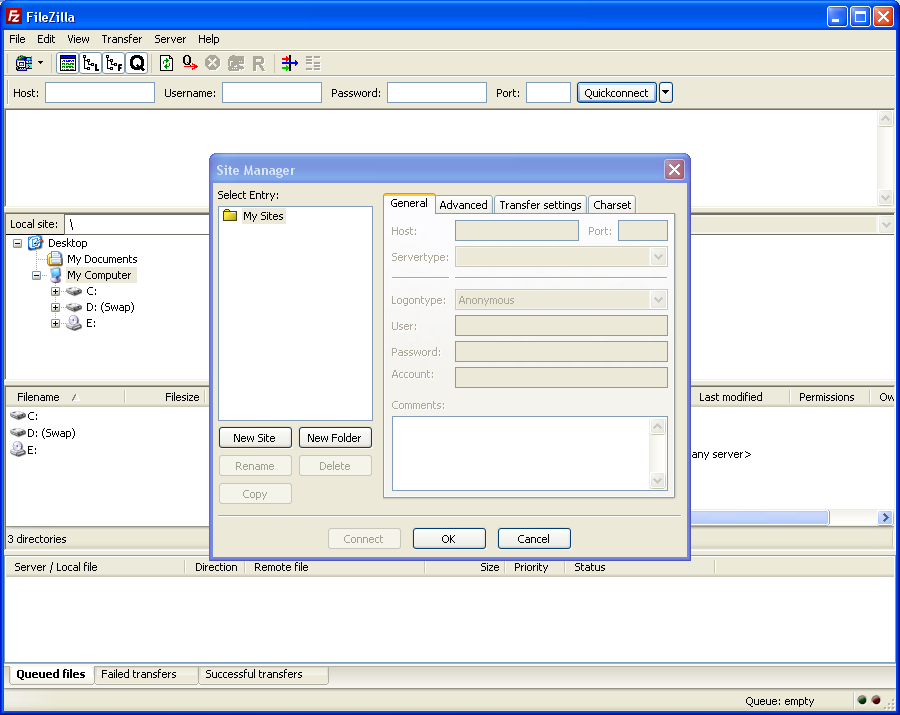
Once you have clicked the computer icon, the site manager should now be visible.
Step 3
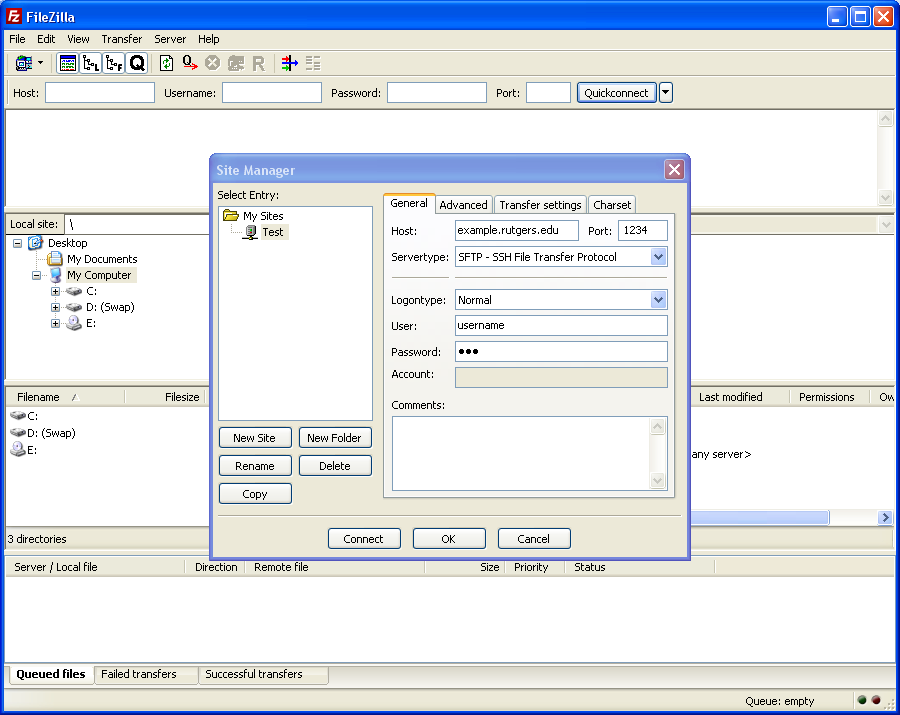
In the Host section of the site manager fill in the host address of the server you wish to connect to.
In this example the host is example.rutgers.edu.
In the Port Section fill in the port of the server you will connect to in this example 1234
In the Servertype section select SFTP - SSH File Transfer Protocol
In the Logontype section select Normal
In the User section fill in your username for the server
In the Password section fill in your password for the server
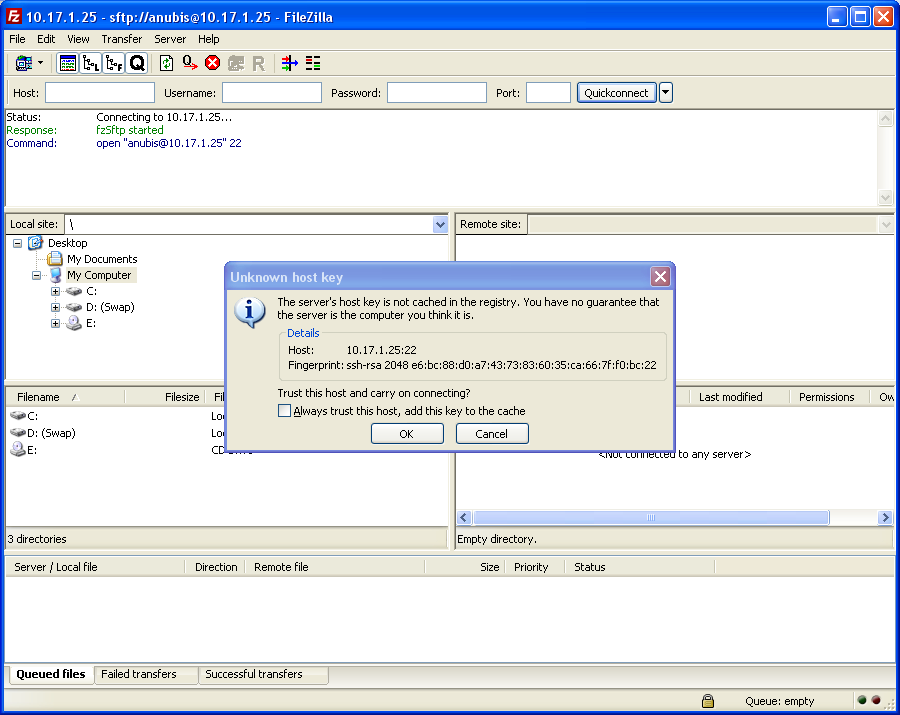
Step 4
Once you have completed the information in the site manager; click on the connect button to connect to the sftp server. Once filezilla connects to the server you will be presented with the Unknown host key dialog box. Put a check in Always trust this host, add this key to cache and then click on the ok button.
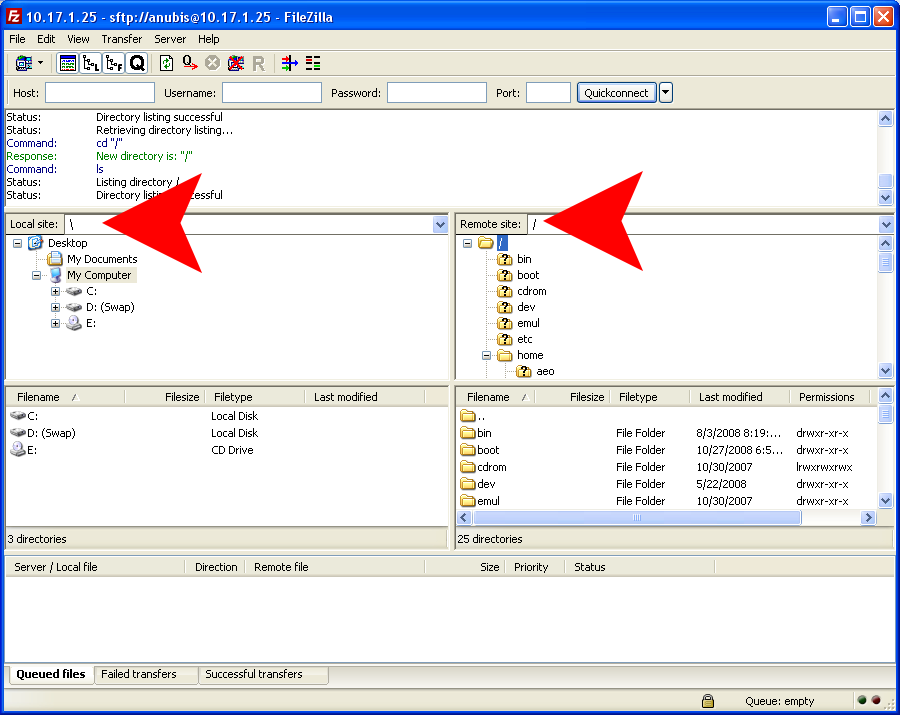
Step 5
Congratulations you are now connected to sftp server. To transfer files you can simply drag and drop files from the Remote Site Window located on the right to the Local Site Window located on the left and vice versa; you may also right click a file and choose upload or download.
Step 6
To disconnect from a site click on the computer icon that has an x going through it.